Install Windows 11 on M1 or M2 Mac using VMWare Fusion For Free. It allows Any Apple Silicon Mac to run windows 11 on a VM at near-native speeds.Compared to UTM, VMWare Fusion delivers 2x faster performance. So, Without further ado, let’s get into installing Windows 11 On Any Mac With Apple Silicon using VMWare.
Note: For demonstration, I used MacBook Air with an M1 chip.
Pre-Requisites
To install Windows 11 On an M1 or M2 Mac, you need to reserve a free space of at least 70GB or higher On Your Mac.
Download Windows 11 ARM64
Go a head and hop over to this link and register to windows 11 Insider Program.You may need to create a free Microsoft account and enroll, yourself in the windows insider program.
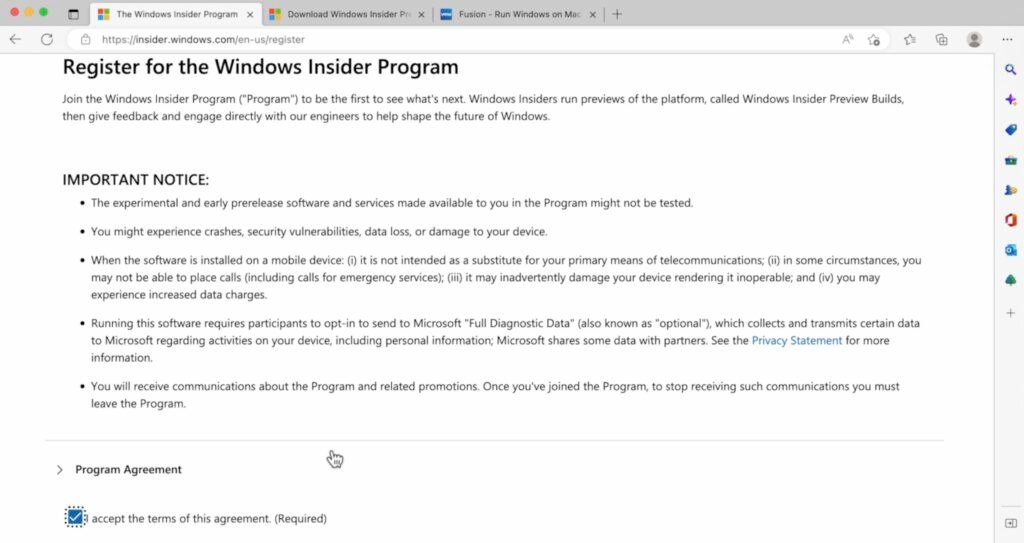
Then head over to the second Link, and download windows 11 for ARM64 VHDX Image. For now, choose the beta edition, and download the image file.
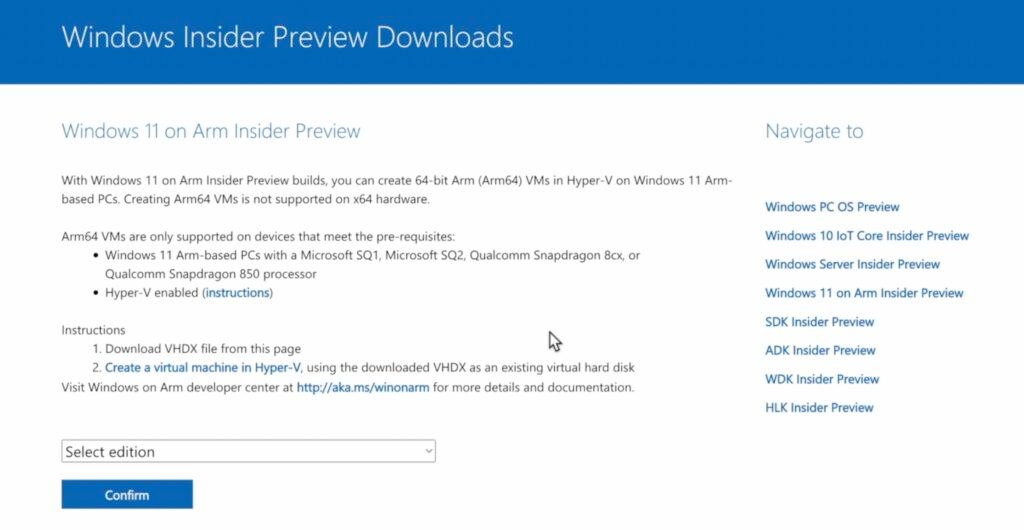

Keep in mind, that Microsoft doesn’t support installing windows 11 on apple silicon but still, it’s possible to run an evaluation copy of windows 11.
Note: You can also make your own Windows 11 ARM64 ISO, check out this Link
Download VMWare Fusion 13
Then hop over to this link . VMWare Fusion is free to use for personal computing. You can also buy the premium version based on your demand.
Then click register for a personal use license. Create a user account if you don’t have one. Log into with your credentials.
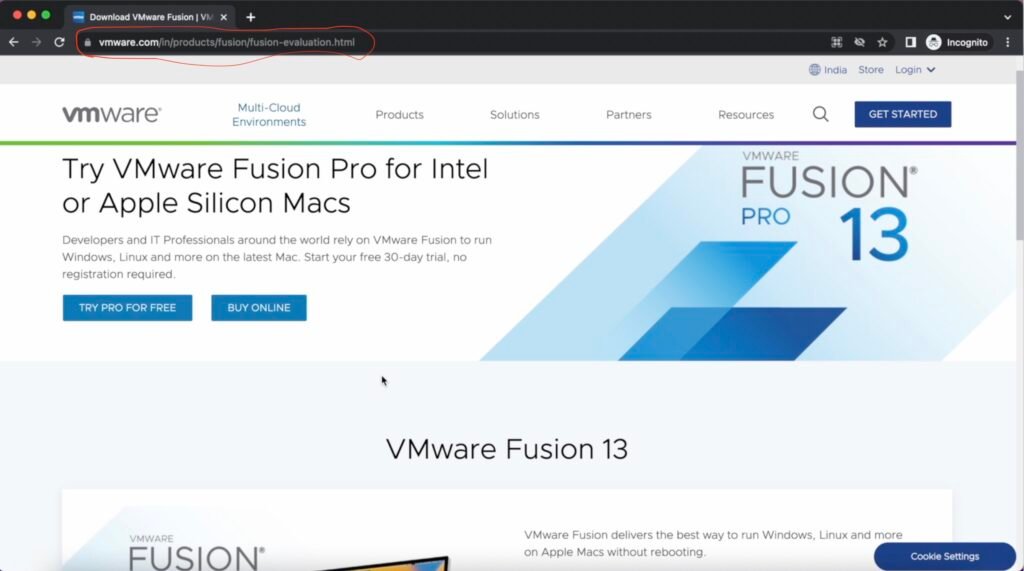
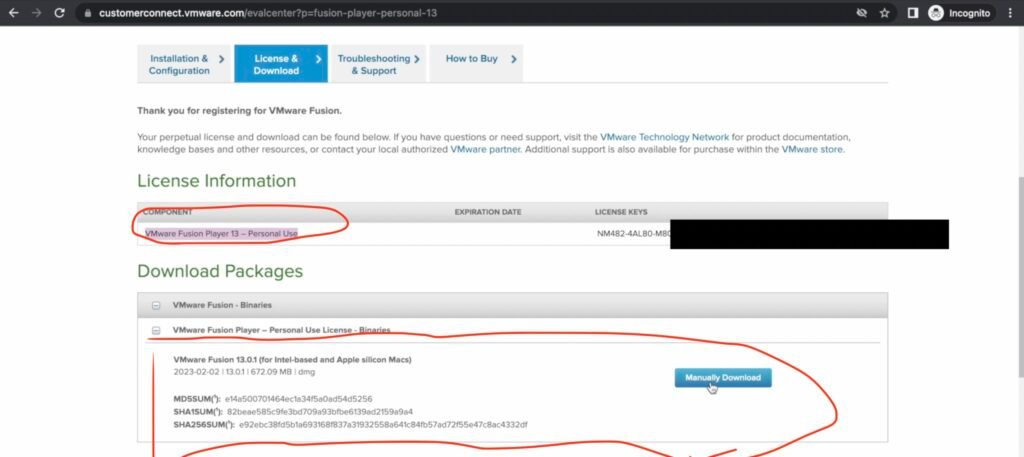
Once you logged in, under the license & download section you will see VMware fusion 13 for apple silicon and the license key. Go ahead copy the free license key, and download the dmg file.
Then go ahead double click on the VMWare Fusion DMG File and follow the on-screen instructions and install it. Using the free license key, activate the VMWARE Fusion. Allow, VMWare to use the system accessibility features. Once it’s done, restart the VMWare Fusion. .
Converting Image File to VMDK
Before creating a virtual machine, we need to convert the windows image and make it compatible with VMWare by converting it into VMDK.
Read this Post and install HomeBrew On your Mac.
Once the homebrew has been successfully installed on your Mac. Then type the below command and install the QEMU package.
brew install qemuNow, type the below command to convert Windows 11.VHDX to Windows 11.VMDK. Assuming the Windows 11.VHDX is present on the downloads directory. Then the usage of command looks like this:
qemu-img convert -O vmdk ~/Downloads/Windows11.VHDX ~/Desktop/windows11.vmdk -p After executing the above command, it will convert the .VHDX file into .VMDK

That’s it now we have done creating a VMWare-compatible disk file.
Create Virtual Machine
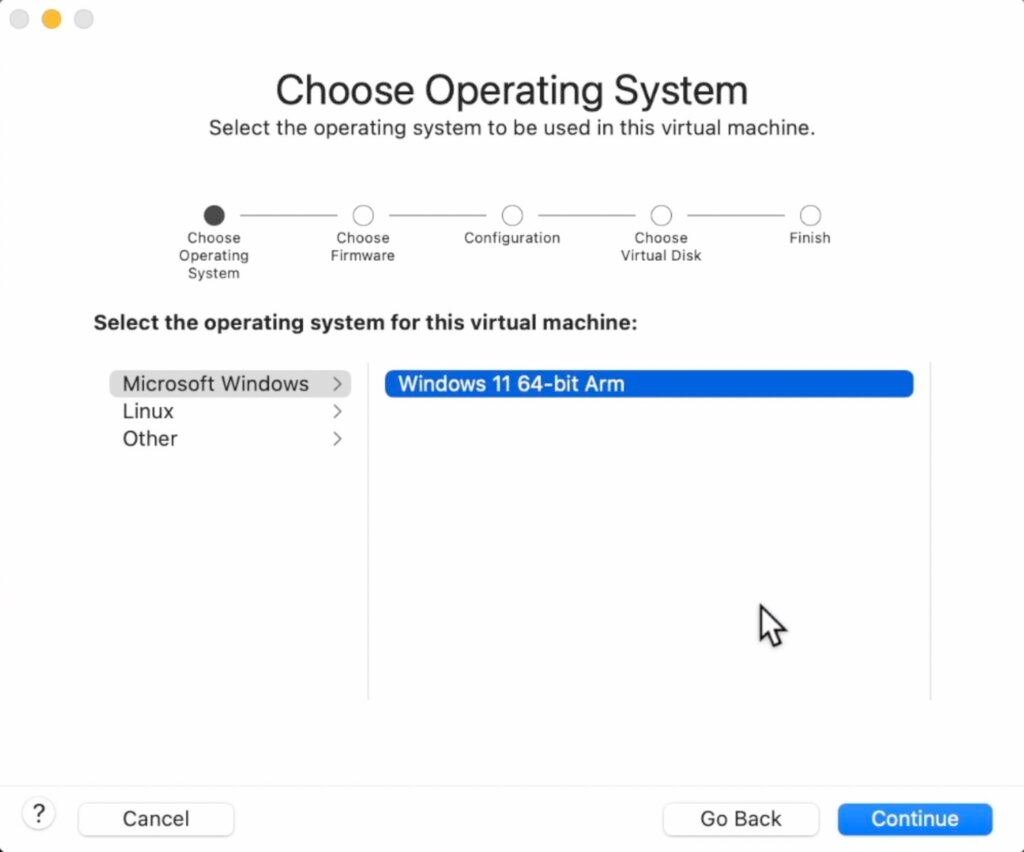
Now, click on create a new virtual machine. Choose Microsoft Windows then select windows 11 arm Edition and click on continue.
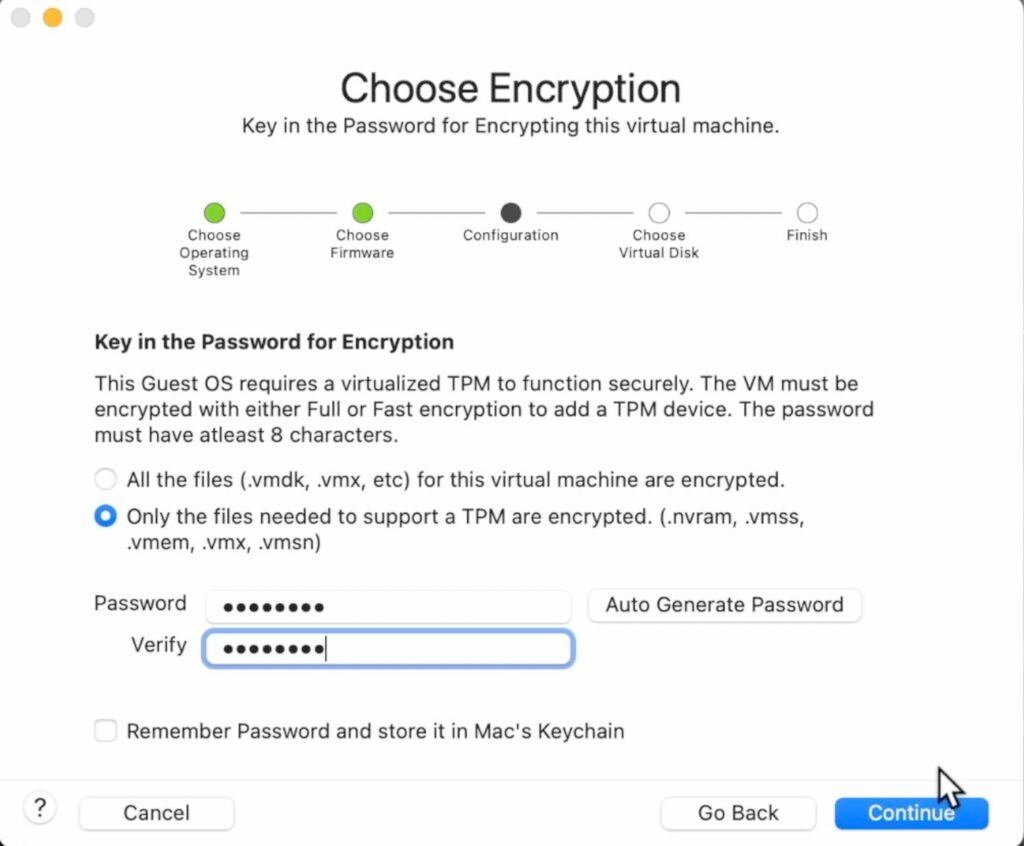
Now, choose UEFI and unselect the secure boot. VMWare Fusion supports a virtual TPM and you must encrypt the virtual machine. Go ahead and set a password to encrypt the virtual machine.

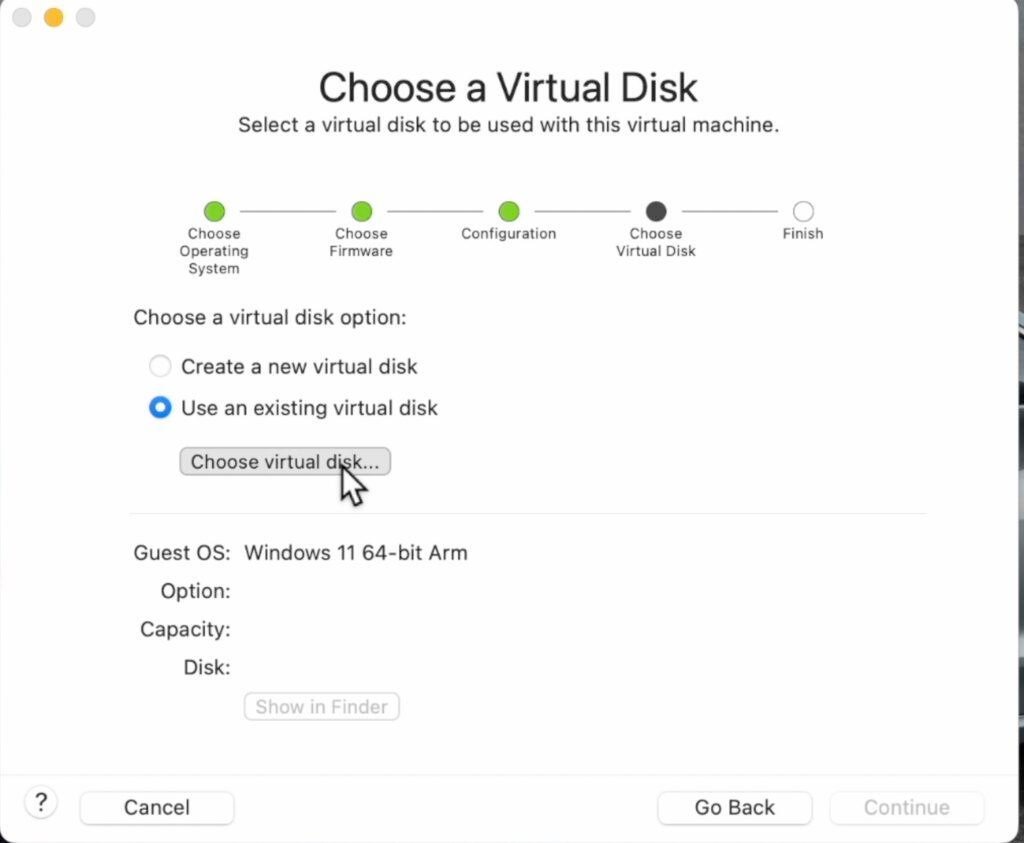
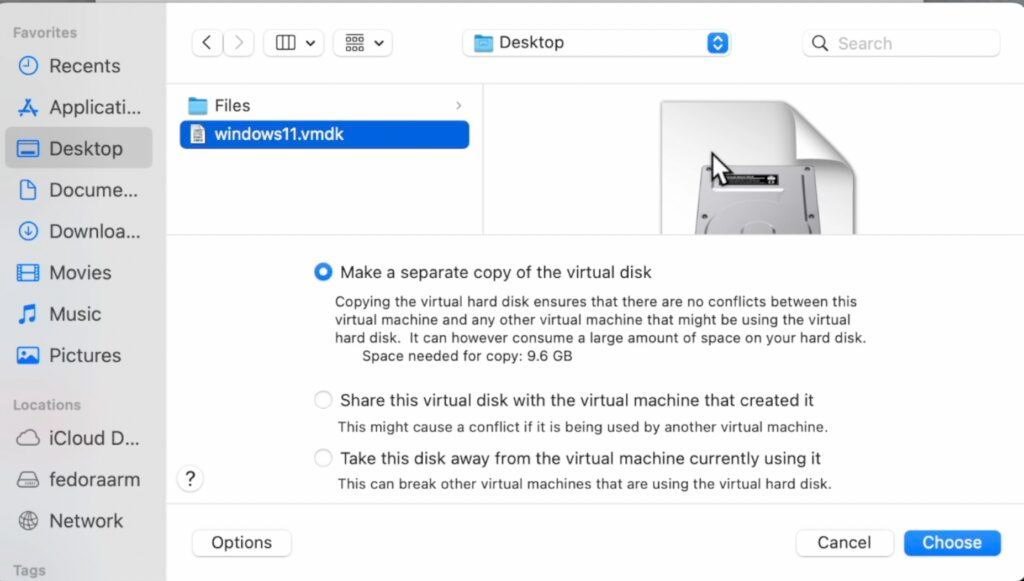
Then, choose to use an existing virtual disk, and look for the windows 11 vmdk.
Then, Make sure to use this option to make a separate copy of Windows 11 VMDK. Then click on continue.
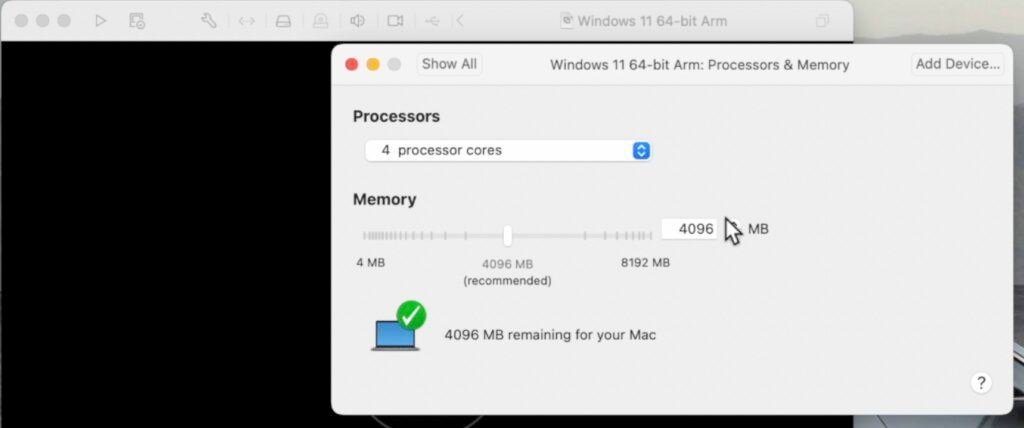
Now choose to customize settings, and name the virtual machine. Then click on save. You can tinker with the virtual machine settings. I am going to set the CPU Cores to 4 and leave the rest of the settings to default.
On your desktop, you can delete the VMDK file to save storage space.Once everything is set. Run the virtual machine.
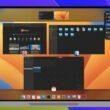
Keep in mind when you tap inside a virtual machine, the cursor will be bounded to the guest OS. To release press Ctrl+Command to get the control of the cursor back to the host OS.
Installing Windows 11
Now you can see the windows 11 setup screen, go ahead and open the command prompt by pressing function + shift and f10 at the same time. Then type the below command and press the enter key to reboot.
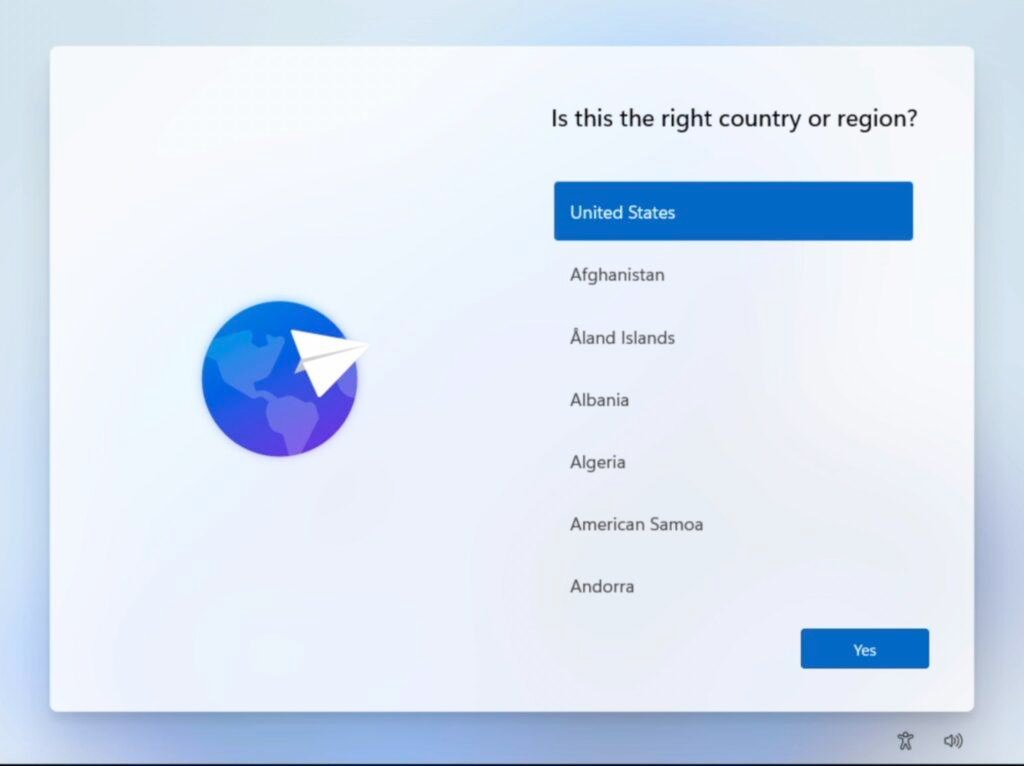
oobe\bypassnroGo ahead, and choose your country and keyboard layout. Then, Click on I don’t have internet. Agree to the terms and conditions then create a user account and finish setting up windows 11.


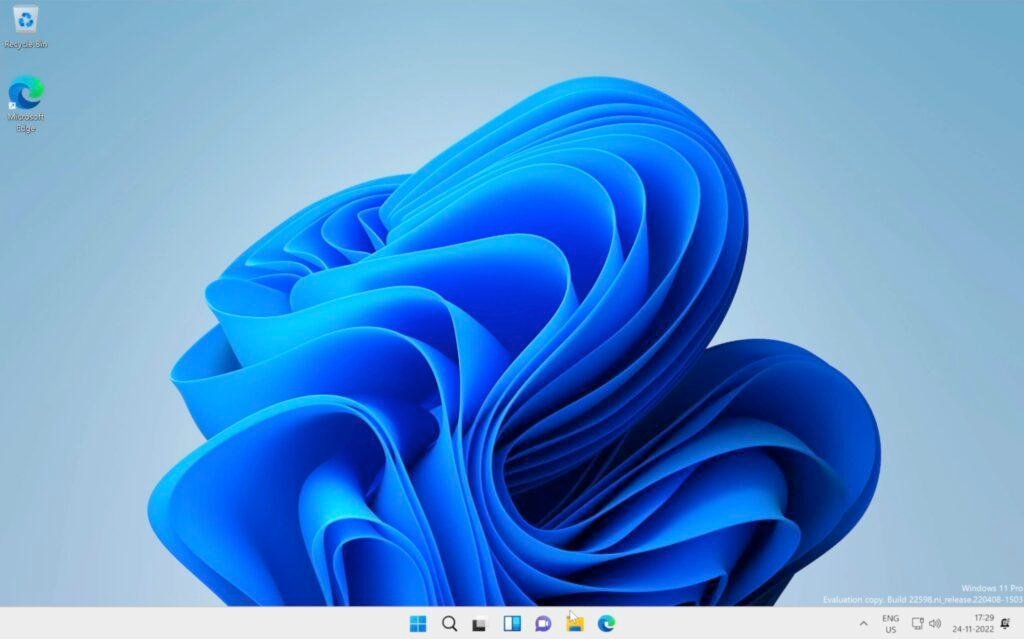
Voila, now you can see windows 11 has successfully installed inside a virtual machine.
Mind you that, you may see a warning the build has expired. Don’t worry, it won’t show after you start using.
Now open the search bar, type PowerShell, and choose to run it as administrator. Type the below command, and make sure you type exactly what you see which is case sensitive.
Set-ExecutionPolicy RemoteSignedThen Type “A” For All. This allows for the execution of the VMWare tools. Once it’s done, use the menu bar Choose a virtual machine and select reinstall VMware tools.

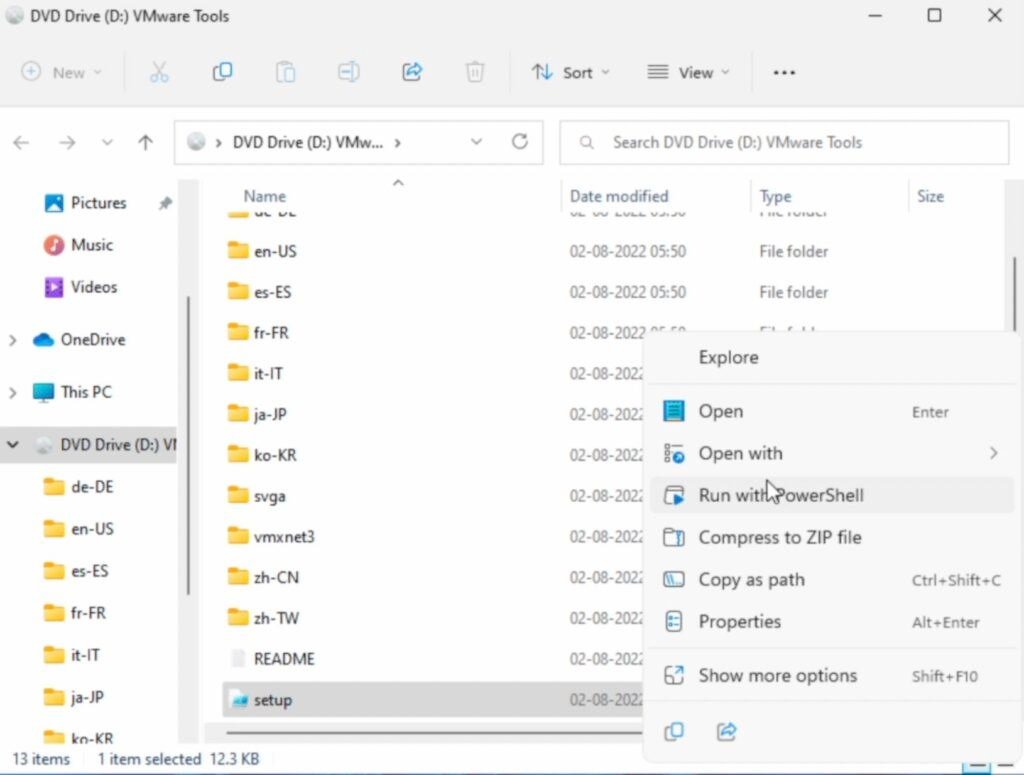
Now, you may see it will be mounted. Go ahead open the drive and look for the power shell script. Just Right click and choose to run with Powershell. This will fix all the issues with graphics, sound, and the Internet.

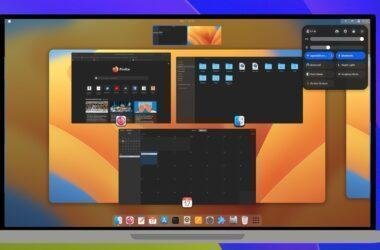
Now head over to settings – choose a system and change the display resolution to the native (2800 / 1800), and scale up the display by 200%. Then reboot the Virtual Machine. you can see windows 11 uses the full-screen resolution of Mac.
Conclusion
When you compare VMWare with UTM, I believe it’s much faster. But sadly you can’t play games On VMWare and it uses basic graphic drivers. If you want to play windows 11 games on apple silicon mac, you need to use parallels.
That’s pretty much, this is How you properly install Windows 11 on Any Mac With Apple Silicon Using VMWare Fusion 13. Let me know what you think about it in the comments section down below.