In this step-by-step guide, We will walk you through the process of installing Kali Linux 2023 in VirtualBox on your Windows 11 PC. We’ll cover everything from downloading VirtualBox and the Kali Linux ISO to configuring the virtual machine and installing Kali Linux. By following this tutorial, you’ll be able to set up Kali Linux 2023.1 or Any Version in VirtualBox with ease.
Enable Hardware Virtualization on Your PC
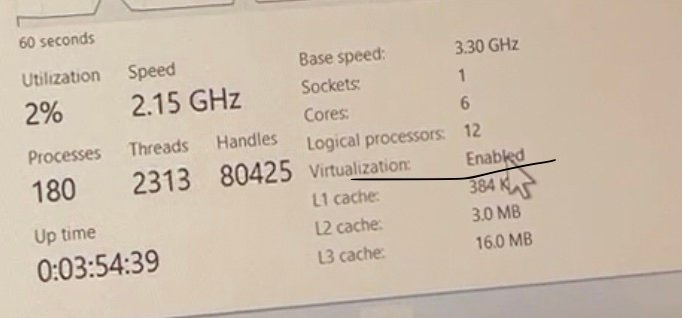
Before we begin, ensure that hardware virtualization is enabled on your PC or laptop. By default, this feature is usually enabled, allowing you to run and test different operating systems in a virtual environment.
However, if it’s not enabled, you’ll need to check your BIOS settings and turn on hardware virtualization. To verify its status, Open windows task Manager and choose CPU.
Download VirtualBox and Kali Linux ISO
To get started, open your favorite browser and navigate to the this link to download VirtualBox for your PC or laptop.
Once the download is complete, visit the second link and click on the download button to get the Kali Linux ISO. For this tutorial, we will be using “Kali Linux 2023.1 Offline Installer“.
You can choose either the default 64-bit ISO or the comprehensive ISO that includes every available tool. For simplicity, we will go with the standard ISO.
Install VirtualBox
After downloading VirtualBox and the Kali Linux ISO, place them on your desktop for easy access. Double-click on the VirtualBox installer and follow the on-screen instructions to install it on your system.
Create a Virtual Machine
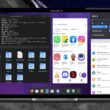
Once VirtualBox is installed, launch the application and click on the “New” button to create a new virtual machine for Kali Linux.
Provide a name and choose the folder location to store the virtual machine files. Set the type as Linux and select “Debian 11 64-bit” as the version.

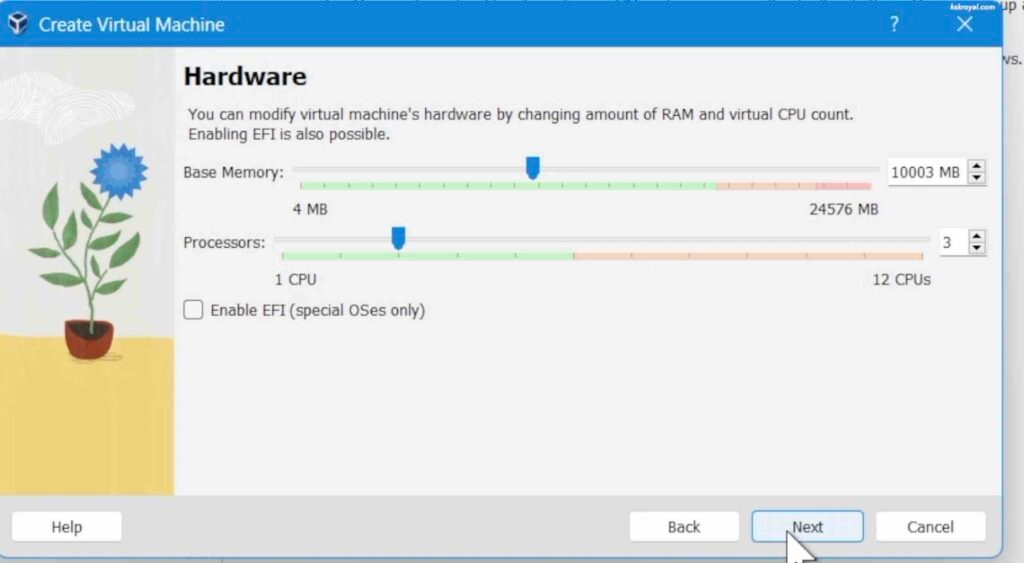
Proceed to allocate sufficient RAM and CPU cores for optimal performance.
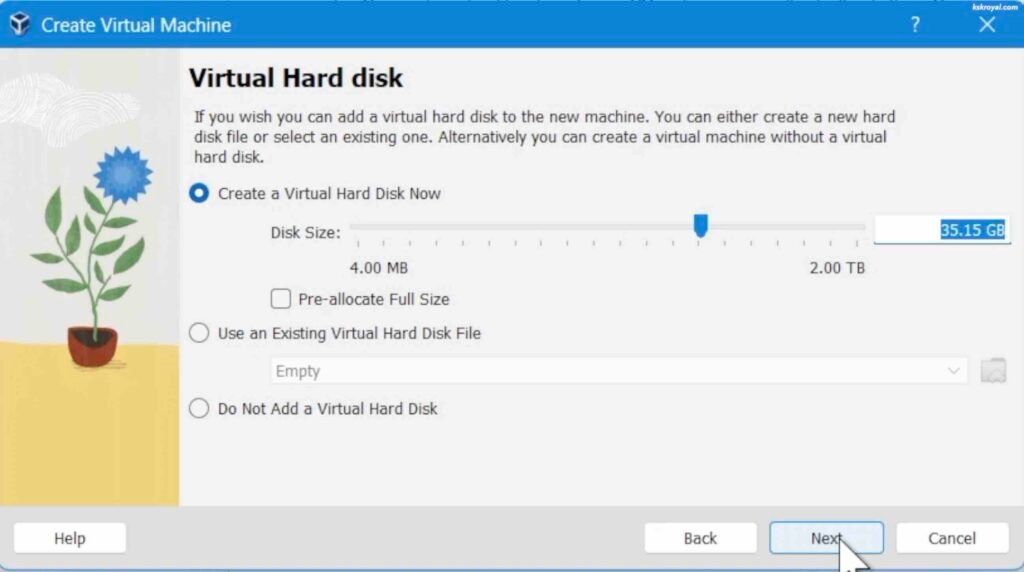
Next, allocate storage space of 20GB or more.
Review the virtual machine summary and click on “Finish” to create the virtual machine.
Configure Virtual Machine Settings
With the virtual machine created, select it from the VirtualBox main interface and click on “Settings.”
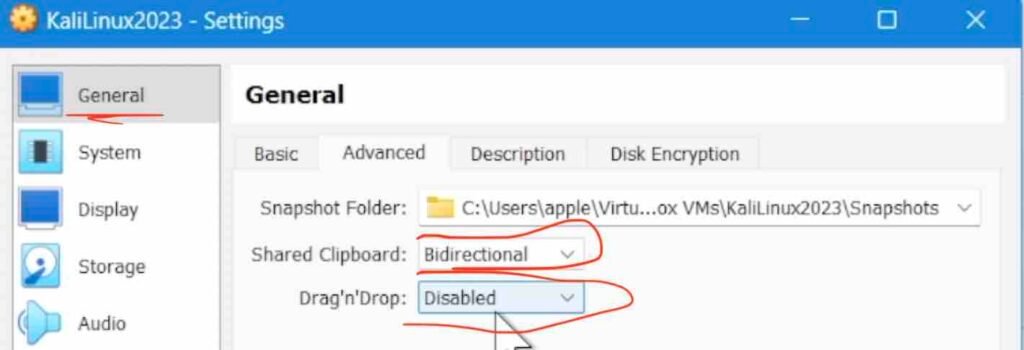
In the General tab, go to the Advanced section and set the shared clipboard as bidirectional to enable clipboard sharing between the host OS and Kali Linux.
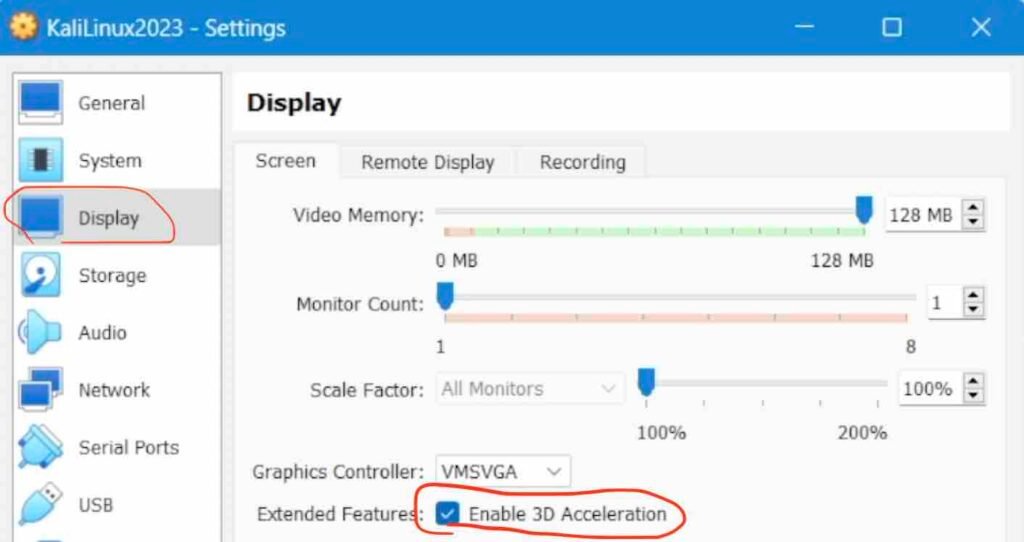
Optionally, you can enable 3D Acceleration under the Display tab to leverage the host machine’s GPU for improved graphics rendering.
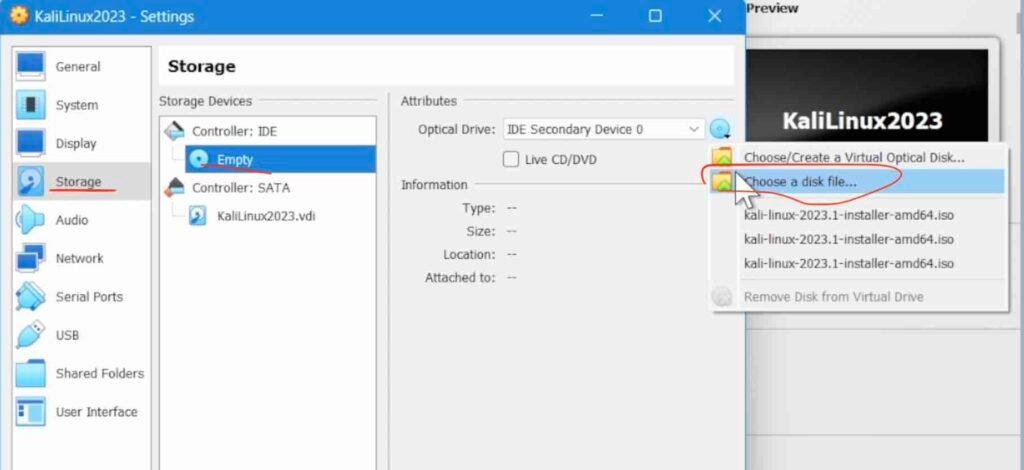
Additionally, configure the storage settings to mount the Kali Linux ISO as the installation media.
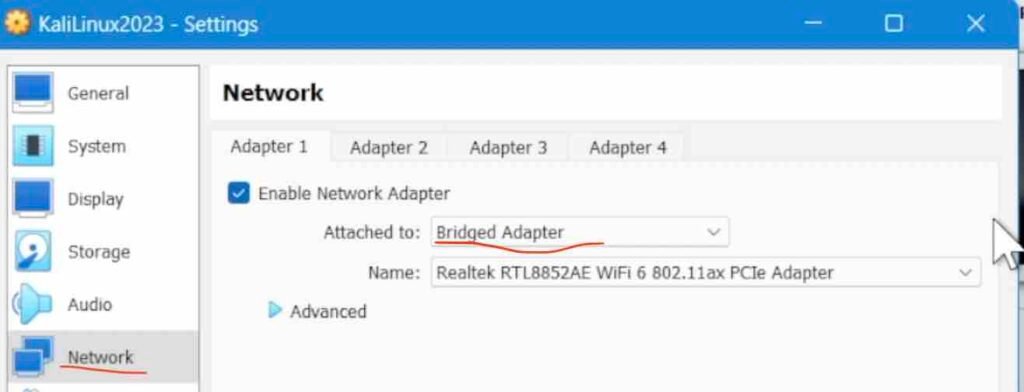
For networking, choose either the default NAT or a bridged adapter depending on your requirements.
Start the Virtual Machine and Install Kali Linux
Click on the “Start” button to launch the virtual machine. Remember that clicking inside the virtual machine will bind the cursor control to the guest OS.
Press the right control key on your keyboard to regain control of the cursor in the host OS.
Select “Graphical install” using the arrow keys and press Enter to boot into the Kali Linux installer.
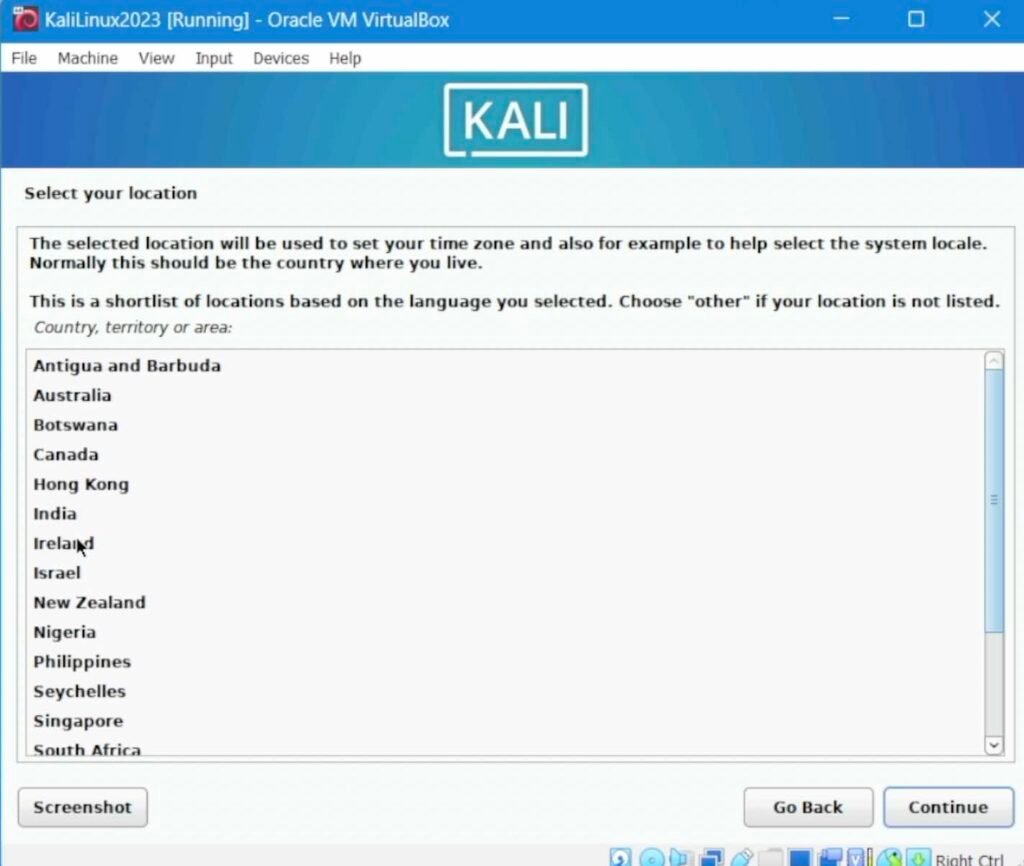
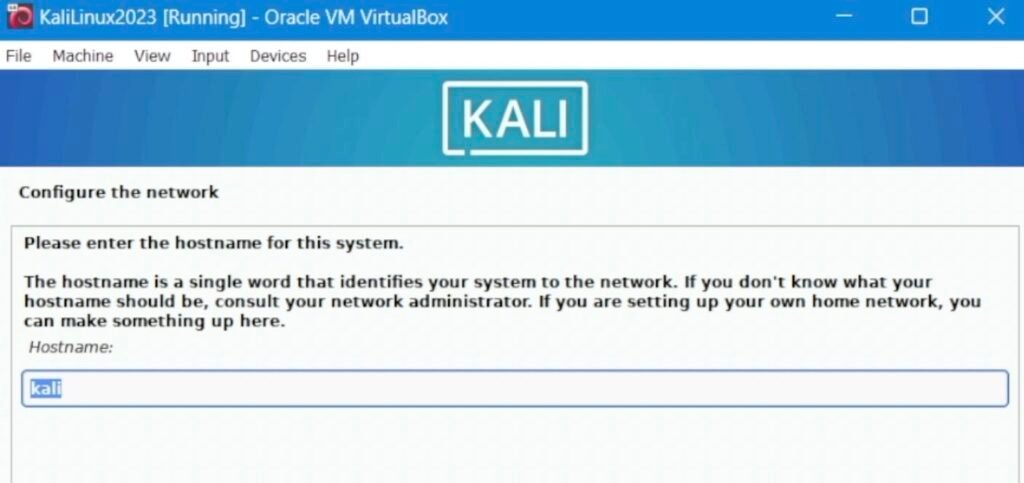
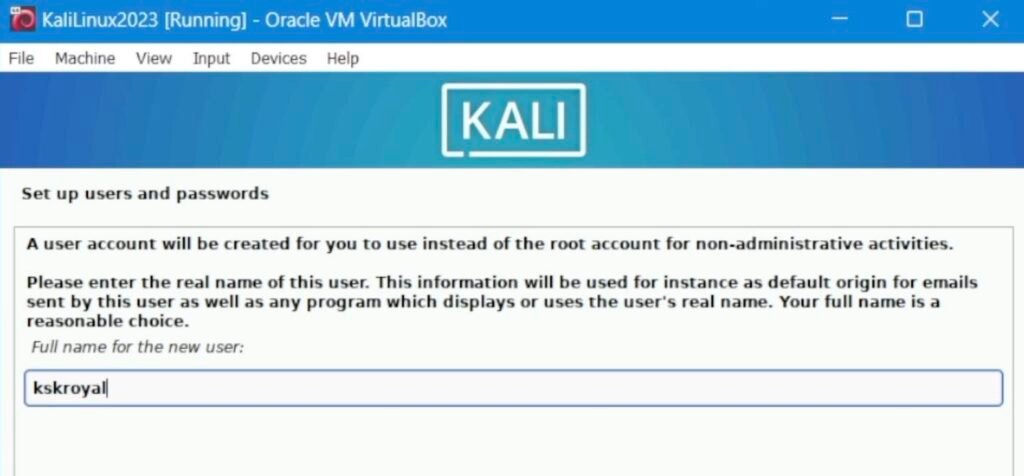
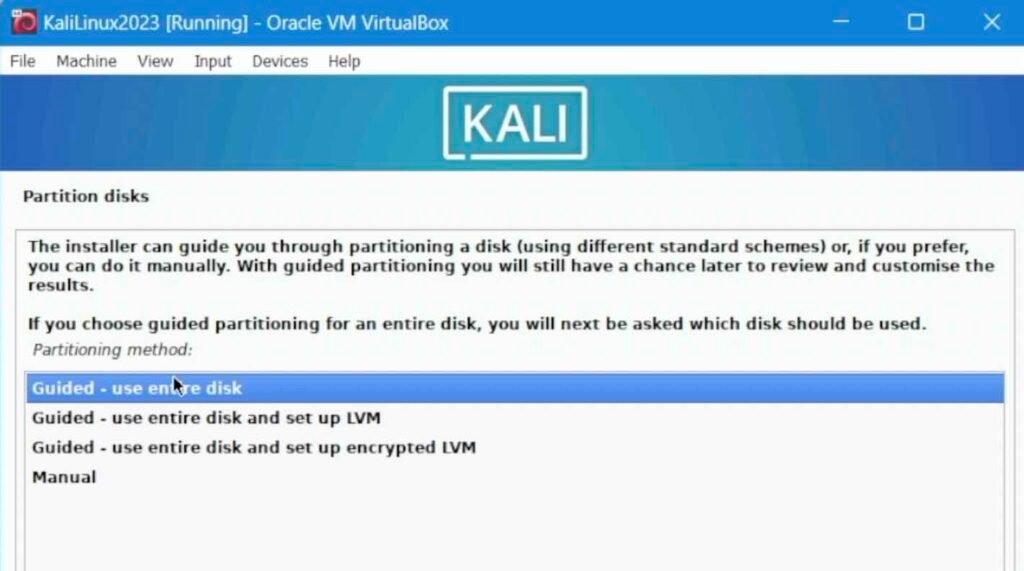
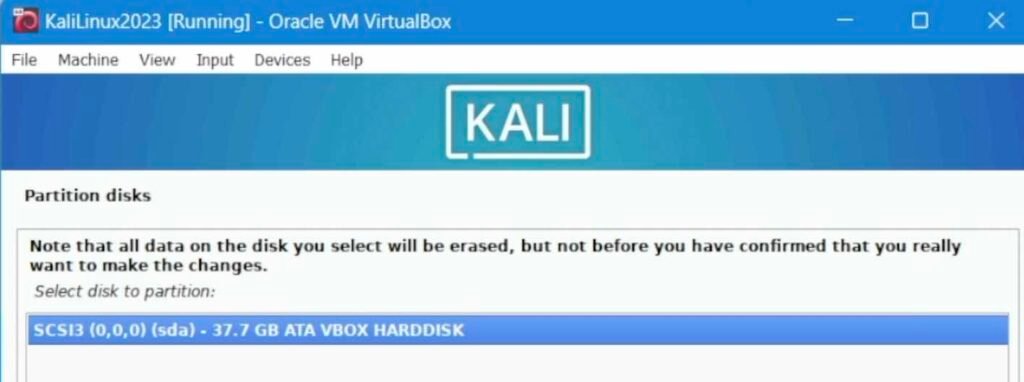
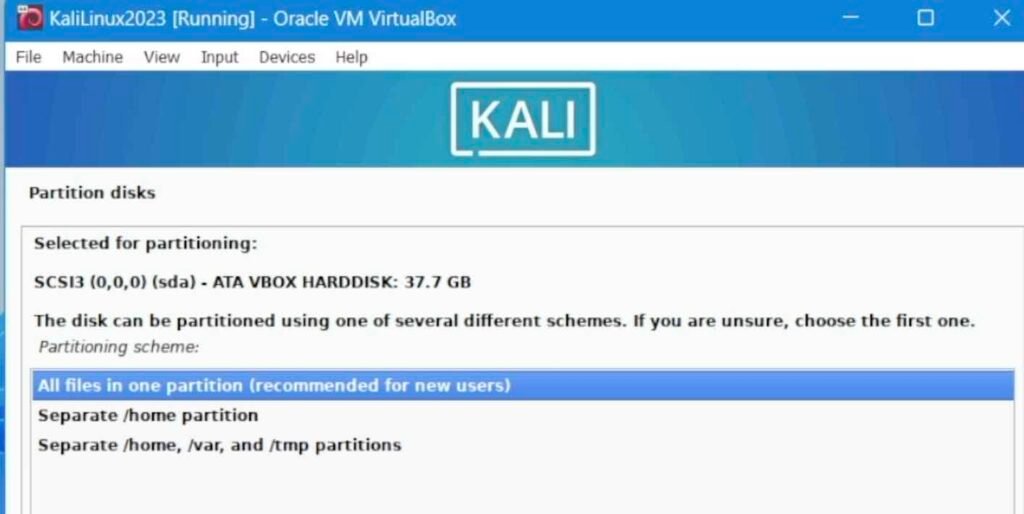
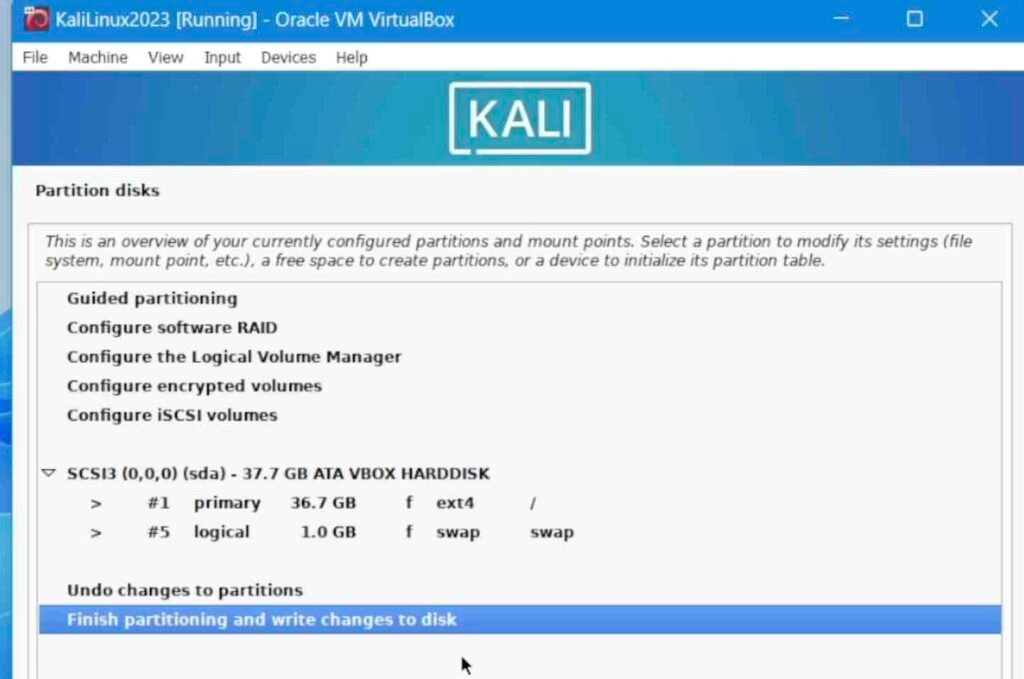
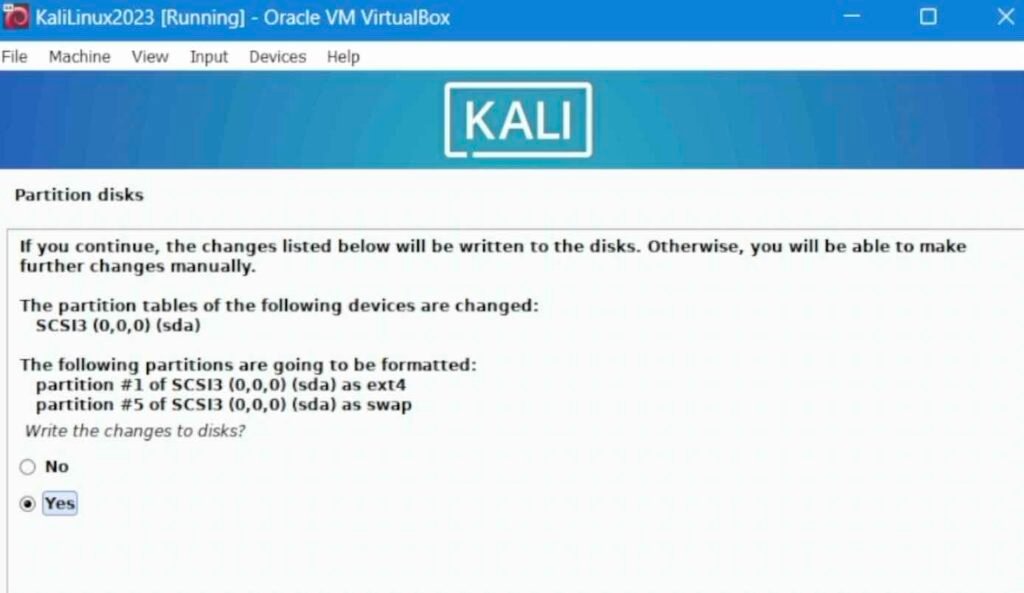
Follow the on-screen instructions to set the system language, location, keyboard language, hostname, and create a user account. Choose the appropriate disk partitioning options and select the GNOME desktop environment. Install the Grub boot loader and complete the installation.
Install VirtualBox Guest Additions
Once the installation is complete, log in to Kali Linux. To enhance functionality, we will now install VirtualBox Guest Additions.
Open the terminal and run the command sudo apt update && sudo apt upgrade to update the system. Reboot the system and install the kernel headers.
sudo apt install linux-headers-$(uname -r)From the VirtualBox menu bar, select “Insert guest additions” to mount the Guest Additions CD.

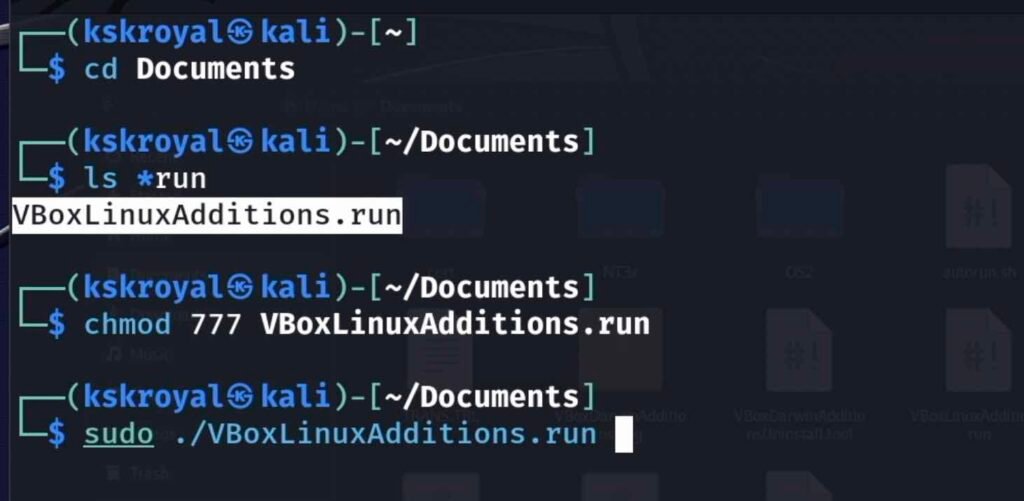
Open the Kali File Manager and copy the files from the CD to the documents directory.

In the terminal, navigate to the documents directory, change the permissions of the installation file, and execute the package.
Restart the virtual machine to apply the changes.
Conclusion
Congratulations !! You have successfully installed Kali Linux 2023.1 in VirtualBox on your Windows 11 PC. Kali Linux should now run smoothly with accelerated graphics and enhanced functionalities.
If you decide to remove the Kali Linux virtual machine, ensure it is turned off and then head over to main interface, choose Kali From the sidebar, right click and delete it.