Install Kali Linux On M1 or M2 Mac Easily. VMWARE Fusion brings support for apple silicon Mac that allows the installation of kali Linux inside a virtual machine.
To install kali Linux inside a virtual machine using VMWare you need to reserve a free space of 30GB or higher on your apple silicon Mac.
Download VMWare Fusion & Kali Linux ISO
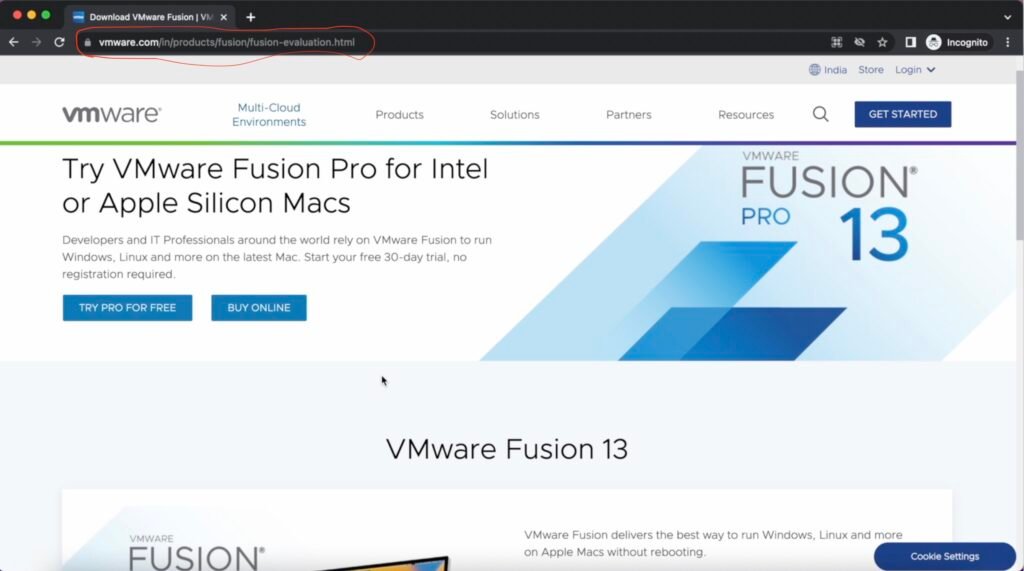
That being said it’s time to start installing Kali Linux on any Mac with apple silicon Using VMWare Fusion. Go ahead open your browser and head over to this Link.
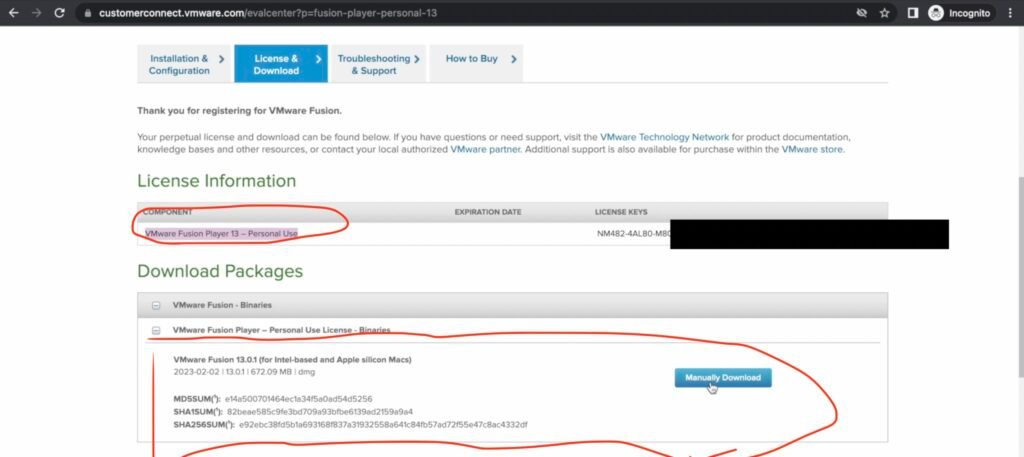
VMWare Fusion is free to use for personal computing. You can also buy the premium version based on your demand. Then click register for a personal use license. Create a user account if you don’t have one. Log into with your credentials. Once you logged in, under the license & download section you will see VMware fusion 13 for apple silicon and the license key. Go ahead copy the free license key, and download the dmg file.
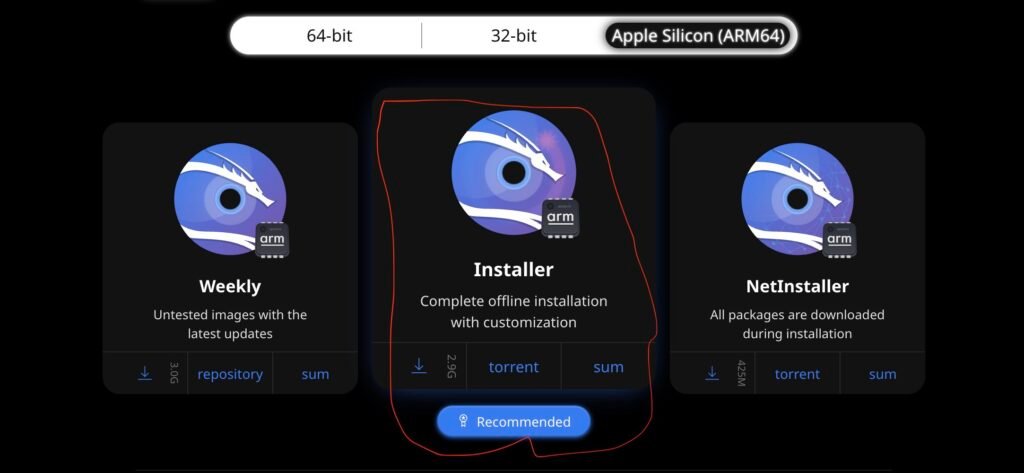
Then, head over to the Kali. Click on download and choose apple silicon arm64. By the time of writing this post, kali Linux 2022.4 is the latest release. Go ahead and choose the installer, and start downloading the image file.
Create Virtual Machine
Then go ahead double click on the VMWare Fusion DMG File and follow the on-screen instructions and install it. Using the free license key, activate the VMWARE Fusion. Allow, VMWare to use the system accessibility features. Once it’s done, restart the VMWare Fusion. Then, click on install from disc or image, and import Kali Linux ISO.
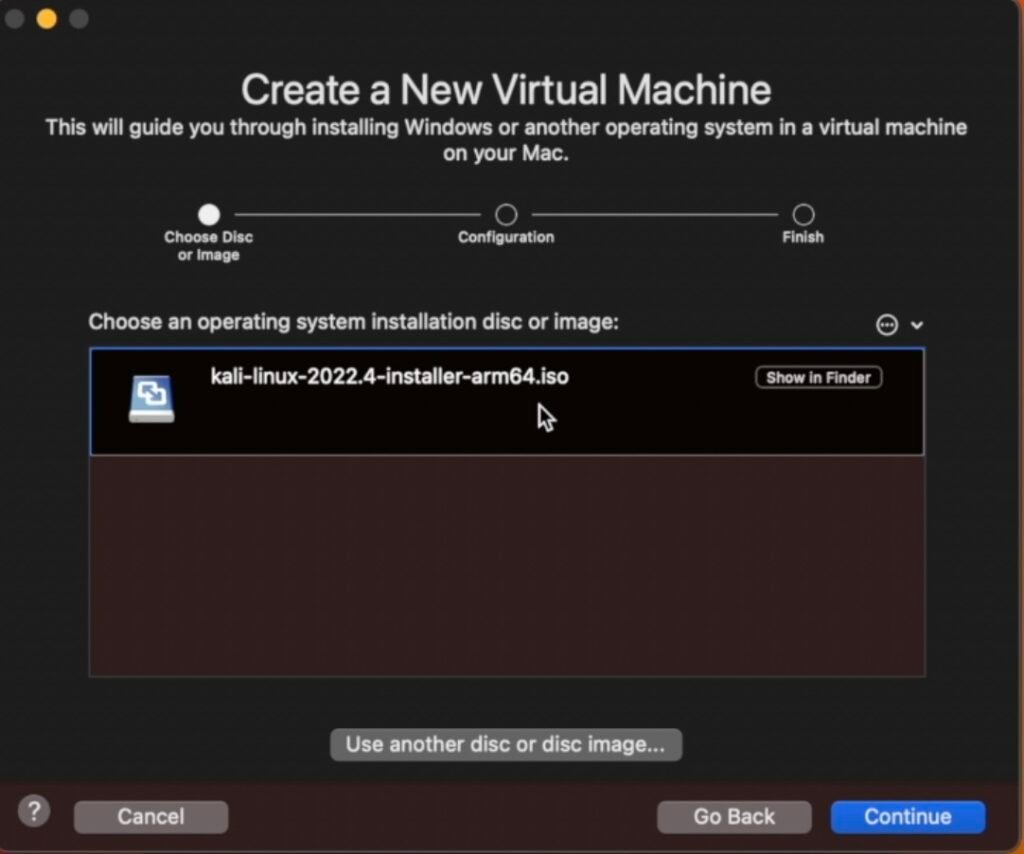
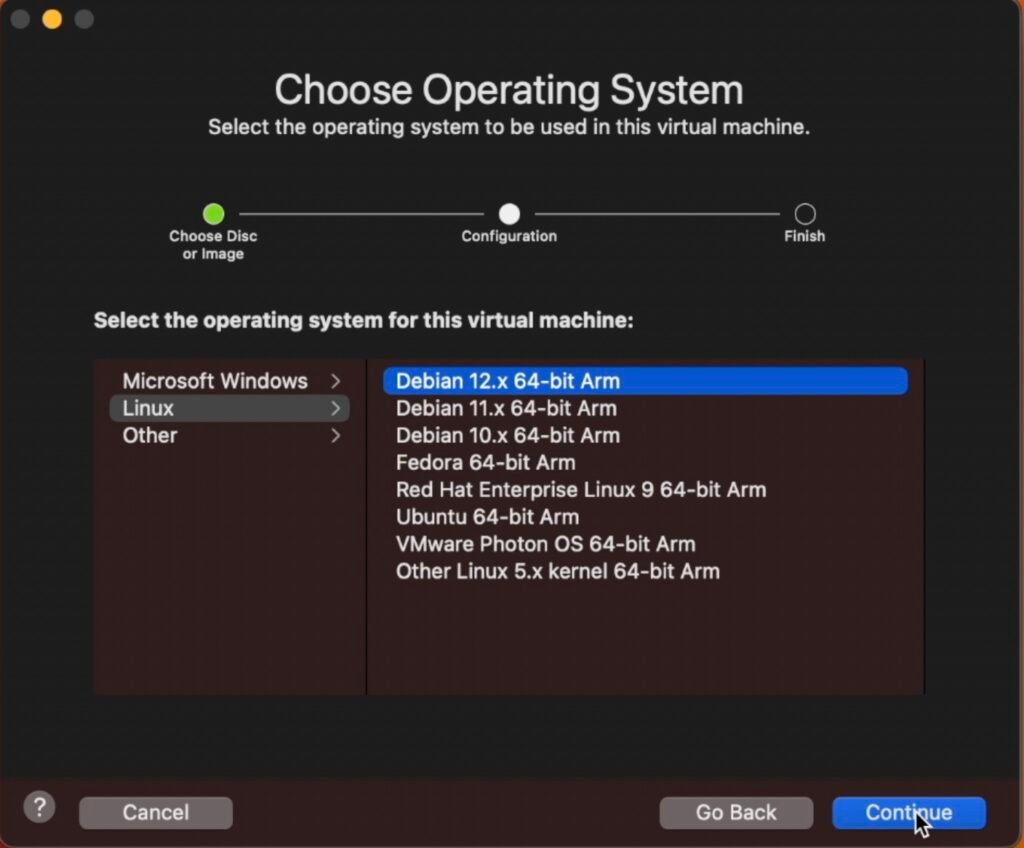
Now, click on continue, Choose Linux and select Debian 12 or 11 64-Bit Arm preset & continue.
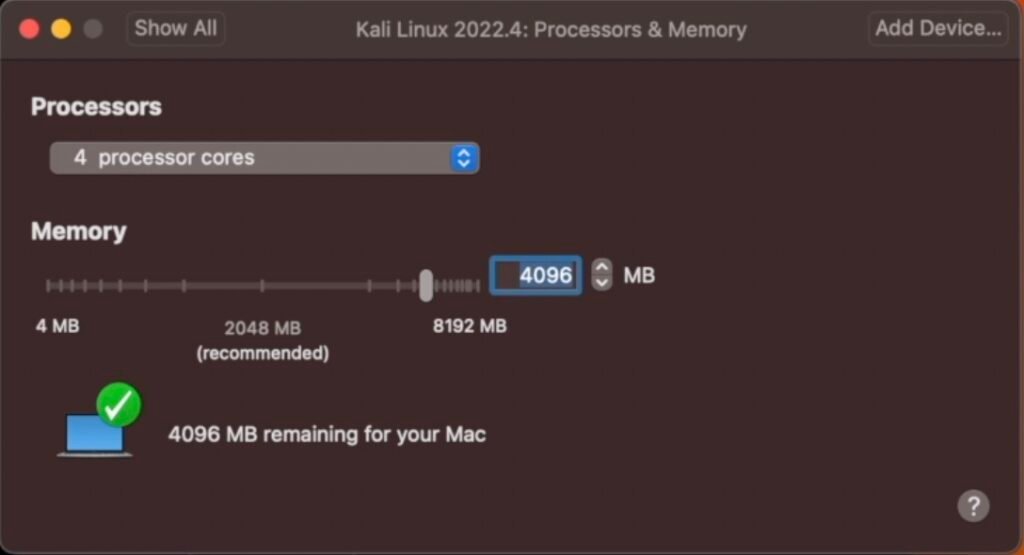
Then choose to customize settings, name the virtual machine and click on save. Using the settings of the Virtual machine, choose processors and memory then increase the CPU Cores to 4 for better performance. I am gonna allocate the 4 gigs of ram for Kali Linux.
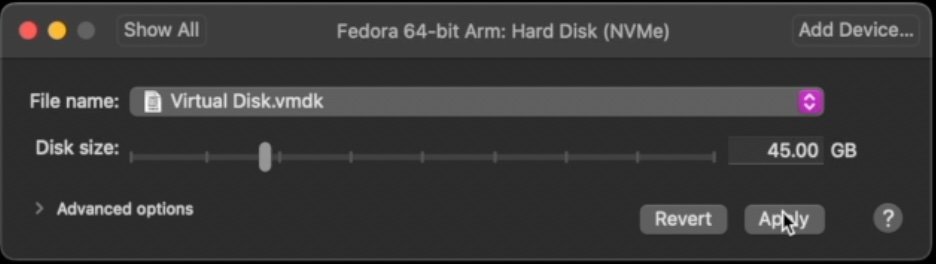
Then choose a hard disk and increase the size of the virtual disk based on your usage. By default, VMWare allocates 20GB of free space for any guest OS.
Once it’s done, start the virtual machine by clicking on the play button.
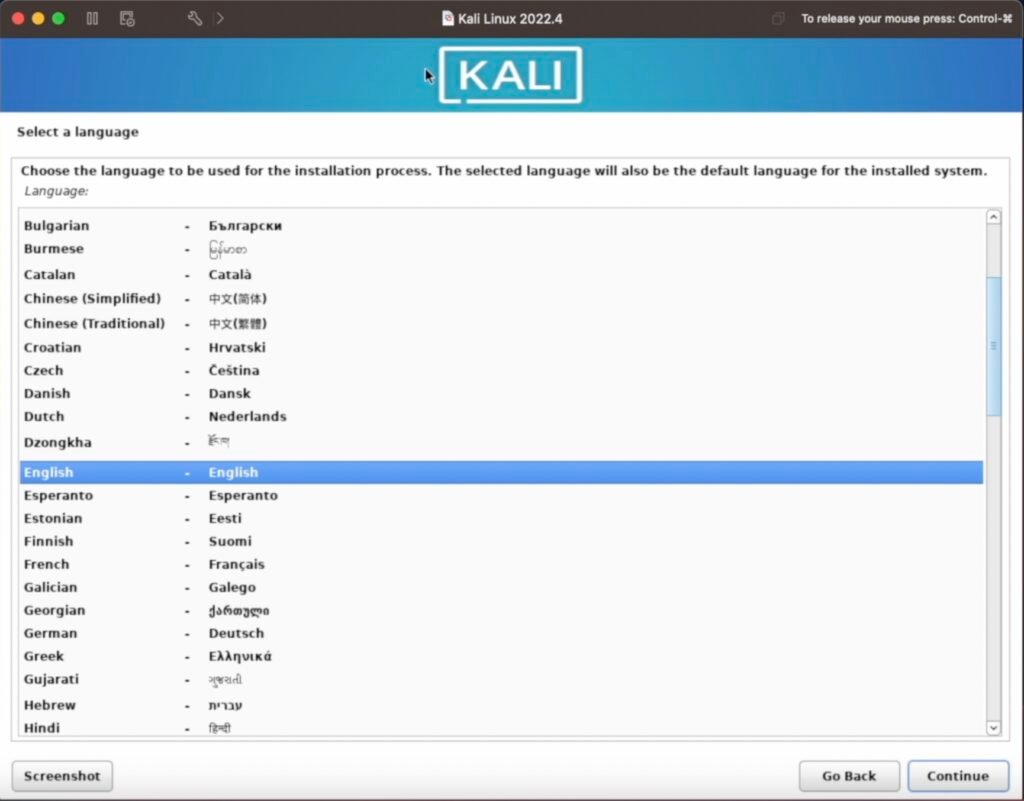
Keep in mind, when you click inside a virtual machine, the cursor control will be bounded to the Guest OS. To Release press control and command to get the control of the cursor back to the macOS.Then, choose normal or graphical install mode to boot into the installation screen.
Kali Linux Installation
Go ahead and set the system language. Then select your location and set the keyboard language.
Then, Leave kali as the hostname and click on continue. For the Domain name leave it empty.

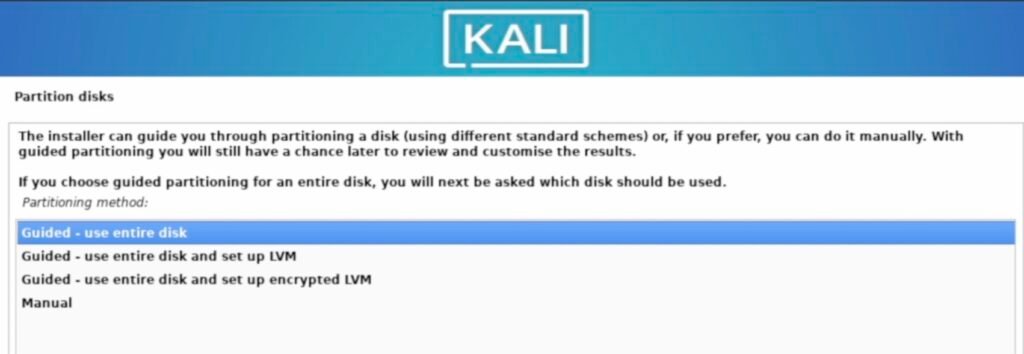
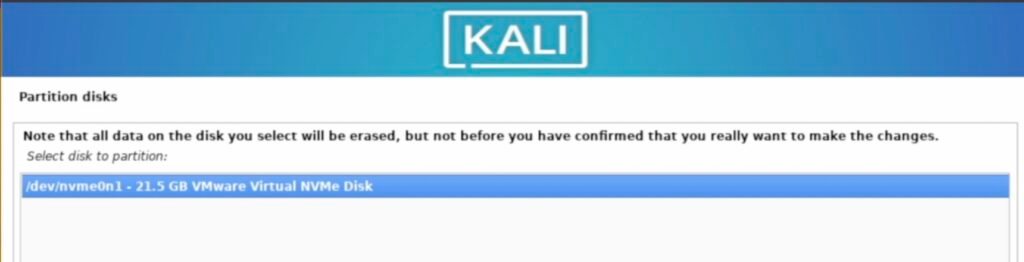
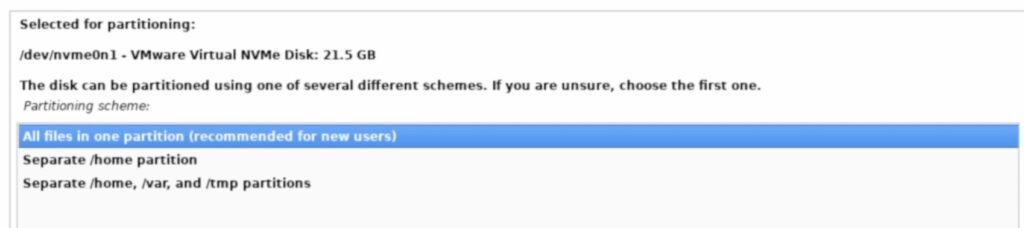
Create a user account and password. Then, choose USE the entire disk, then select the virtual disk, choose all in one partition and finish partitioning the virtual drive.
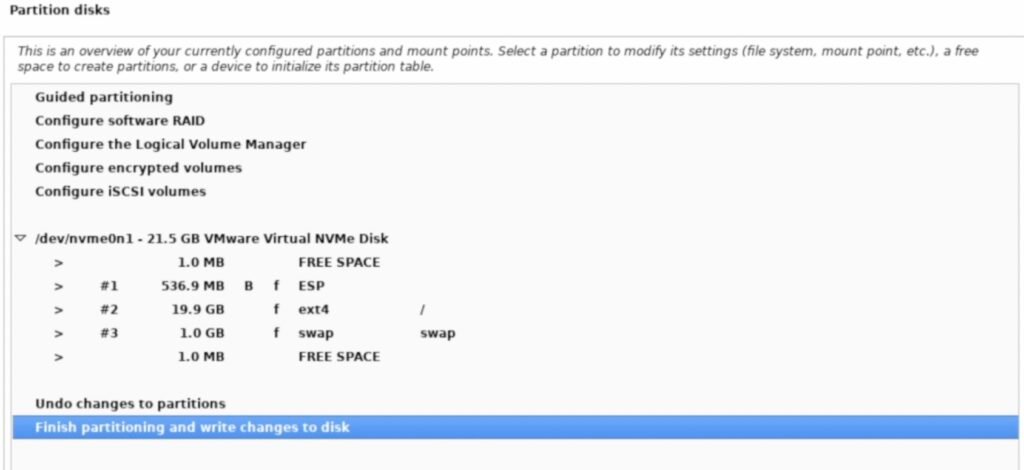
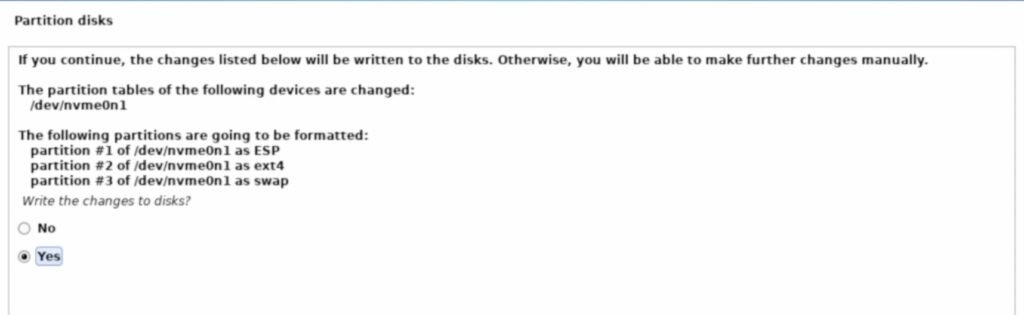
Don't worry this won't format the macOS, the free space that we allocated for Kali, will be used to install, and runs the kali Linux in an isolated environment and has nothing to do with macOS.
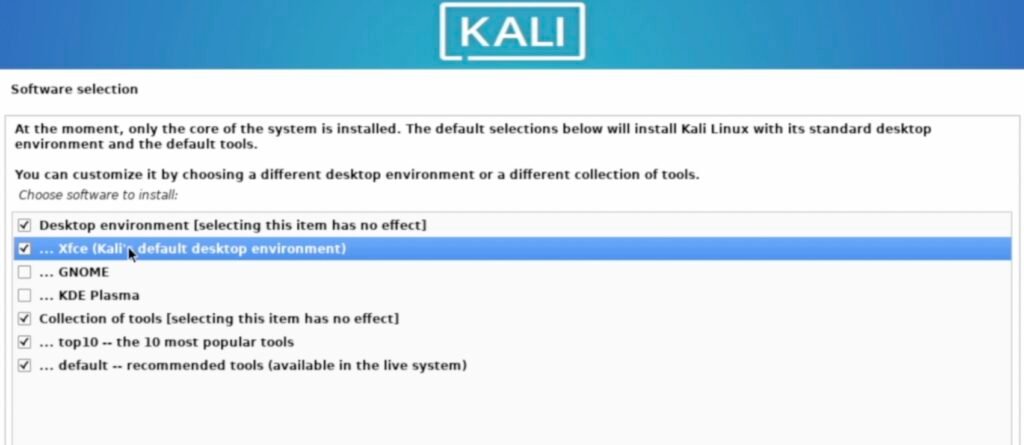
Lastly, you need to choose the desktop environment, I tried XFCE and gnome both works fine without any issues faster.
Then click on continue, to finish installing kali Linux, wait for some time, sit back and relax.
Once the installation is complete, click on continue to reboot. You don’t have to unmount the ISO, VMWARE Fusion will do it automatically for us.
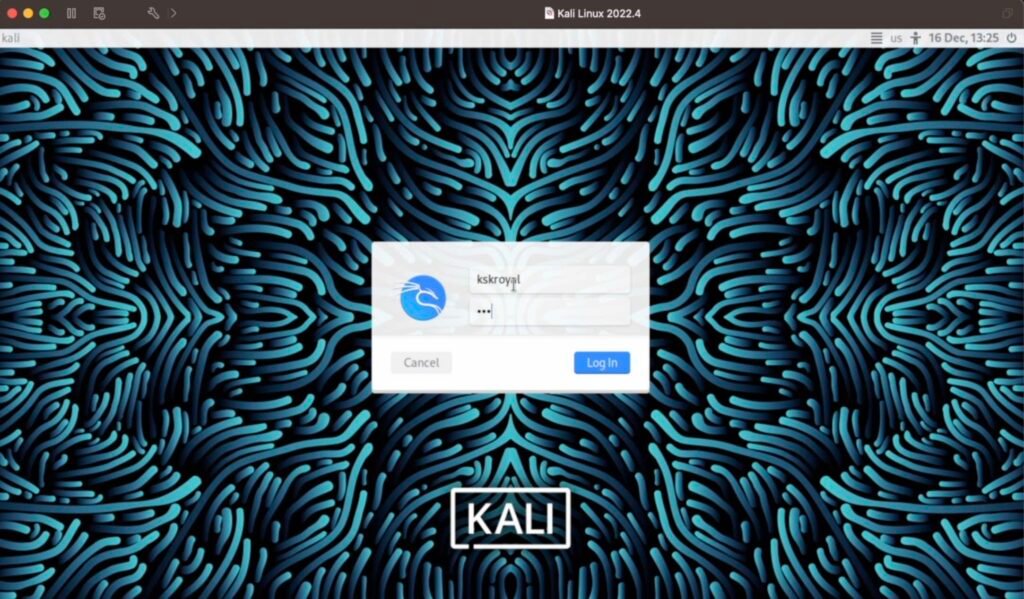
Voila, now you see the login screen. Type your username and password to log in.
Post Things To Do
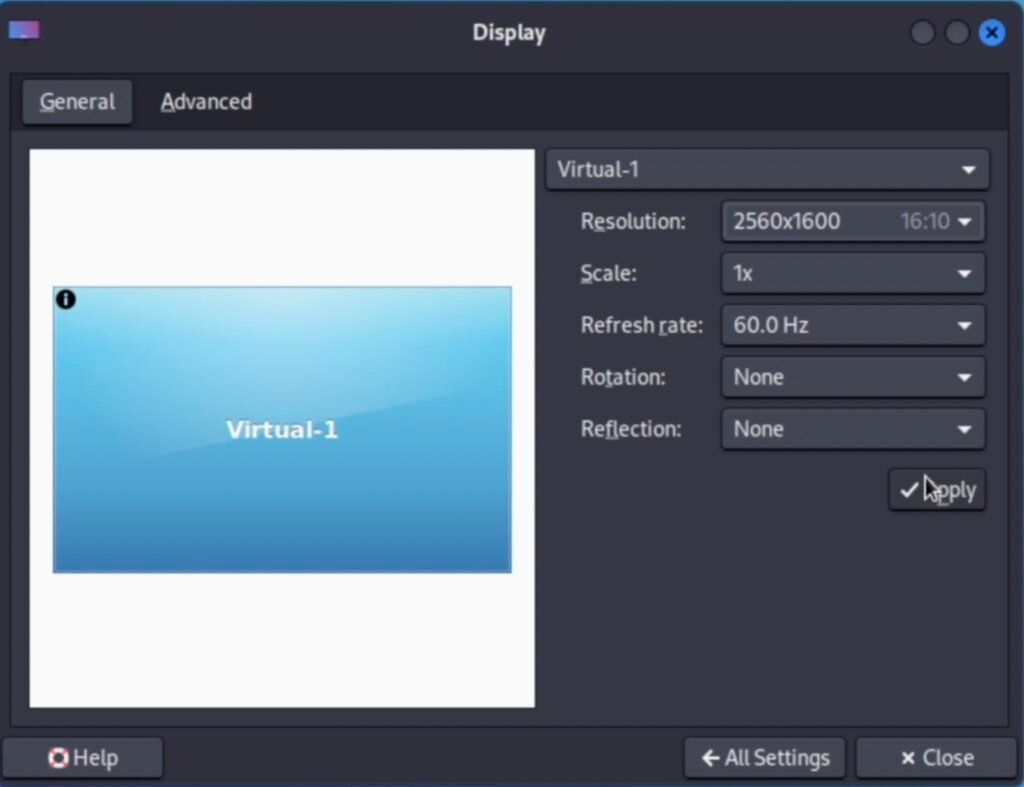
The first thing to do after installing Kali Linux is to go to settings, choose the display to select the resolution, and use the Native Mac version.
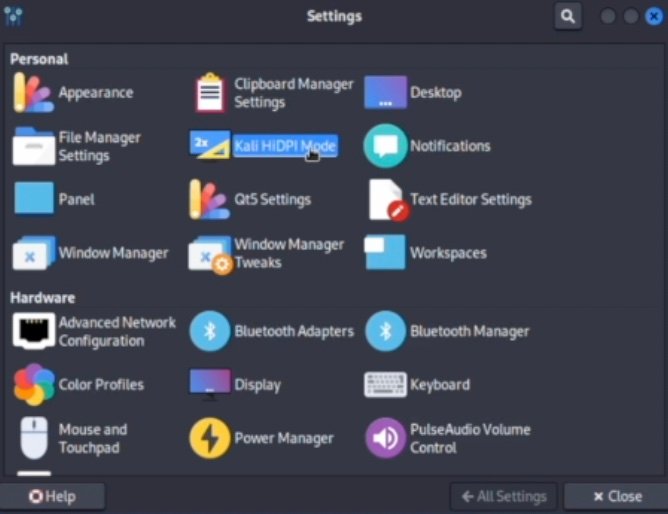
Then go back to the Main settings, and enable the HIDPI mode for the desktop.
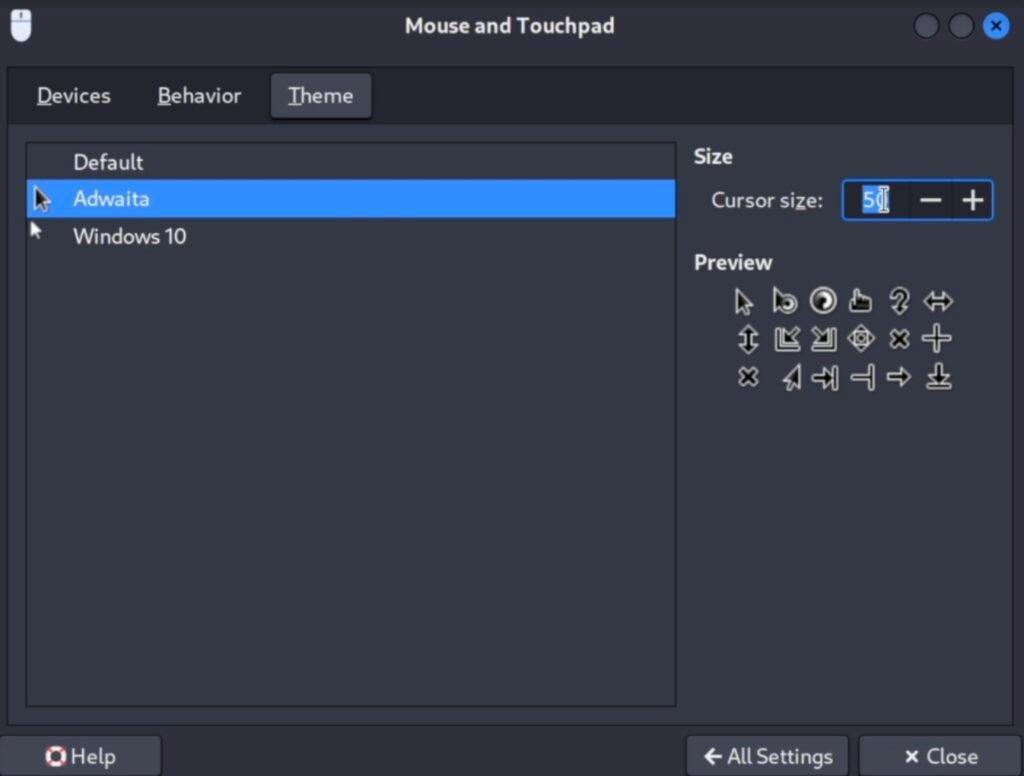
Now head over to mouse and trackpad settings, choose a theme and increase the size of the cursor by 60%. Restart the VM to affect these changes.
Bugs
The only caveat is that VMWare uses software rendering and you won’t see any animations or transitions which is kinda a bummer. Apart from that, the software rendering is outstanding. You won’t face any lag or hiccups in terms of performance. The UI feels very responsive and faster. Most of the preinstalled apps and tools are working fine without any issues.
Unfortunately, I could not able to install VMWare tools that will enable hardware acceleration, directory sharing, and more. So, Whenever I choose to mount the VMWare tools, it says the GUEST OS is not compatible. If anyone of you has a solution let me know in the comments section down below. Now, Other than that, with the help of clipboard sharing, you can copy and paste the text between the guest and Host OS.
Delete Kali Linux
Now if in case you decide to delete or remove Kali Linux, shut down the VM. Using the Menu bar, choose Window, Virtual machine library then right-click on the kali Linux, choose to delete and move to trash. This will free up the space on macOS.
That’s pretty much it, this is how you install Kali Linux on any Mac with Apple Silicon Using VMWare Fusion.