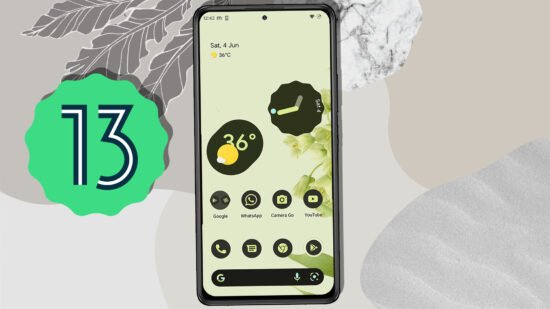
How to install Android 13 on your smartphone using the Dynamic System Updates (DSU) method, allowing you to experience the latest features and improvements. With Android 13, Google has introduced significant enhancements to system animations, notifications, system controls, widgets, and the theme engine.
This guide will walk you through the installation process, utilizing the DSU method, which enables you to load Android 13 as a guest OS alongside your current Android system.
No computer or laptop is required for this installation.
Pre-requisites for Installing Android 13
- Your device must have an unlocked boot loader.
- Your device should be shipped with Android 11 or a higher version.
- Reserve at least 10GB of free space on your smartphone.
- Verify that your device supports dynamic partitions.
Verifying Dynamic Partition Support
- Download the “TrebleInfo” app from the Play Store.
- Install and open the app, then navigate to the details tab.
- Ensure that the “Dynamic partitions” option is enabled.
- If all the prerequisites are met, your device is capable of running Android 13.
Understanding DSU (Dynamic System Updates)
DSU, or Dynamic System Updates, is a feature introduced in Android 11. It allows for the installation of Android 13 Generic System Images (GSIs) bundled with core Google apps into a separate partition. This creates a dual-boot-like environment, eliminating the risk of corrupting the actual Android system.

Install Android 13 GSI
- Open the settings on your smartphone and navigate to the “About Device” section.
- Tap on the “Build Number” seven times to activate the developer options.
- Go to the “Developer Options” section under the system settings.
- Select the “DSU Loader” option and choose the desired Android 13 GSI + GMS ARM64 from the available options.

- The GSI will start downloading in the background and load into the dynamic partition.

- Ensure a stable internet connection and wait for the download to complete.
- In case of any installation failures, retry the process or check the prerequisites mentioned earlier.
- Once the download is finished, a persistent notification will appear with the options to restart or discard.

- Do not tap on “Discard” as it will delete the Android 13 updates. Tap on “restart” to boot into Android 13.
- After restarting, your system will boot into Android 13 from the other partition while preserving your current Android system.
Working Features and Limitations While using Android 13 GSI

- Android 13 is not fully optimized for all devices and should not be used as a daily driver.
- Some functionalities, such as phone calls and messages, may not work correctly.
- Working features include LTE, Wi-Fi, native system gestures, audio, video, and the Play Store.
- Due to limitations, only 8GB of space is allocated for Android 13.
Switching To Original Android
Lastly, If you want to switch back to the Original android, Use the notifications bar, and using the notification, tap on restart this will boot your system into the main Android. The Persistent notification helps to switch back & forth between android 13 and the current system hassle-free.

Conclusion
Installing Android 13 on your compatible smartphone using the DSU method offers a glimpse into the next-level mobile experience. Although it is not a fully optimized version, you can explore the enhanced features and improvements before the official update from your OEM. Alternatively, you can checkout custom rom.


